I used a boring old turquoise shirt I never wear.
First thing I did was I cut around the collar so that it would be an off-the-shoulder top.

Next, I put the shirt on and marked where I want the bottom of the shirt to be cut. I marked on both of the side seams.

Then, I cut along the line on the BACK of the shirt only.
Next I measured from the front how many inches wide the shirt is from each side seam.

After I measured, I marked where the middle was and marked a couple inches down on each side. This is where I will be cutting for the tie.

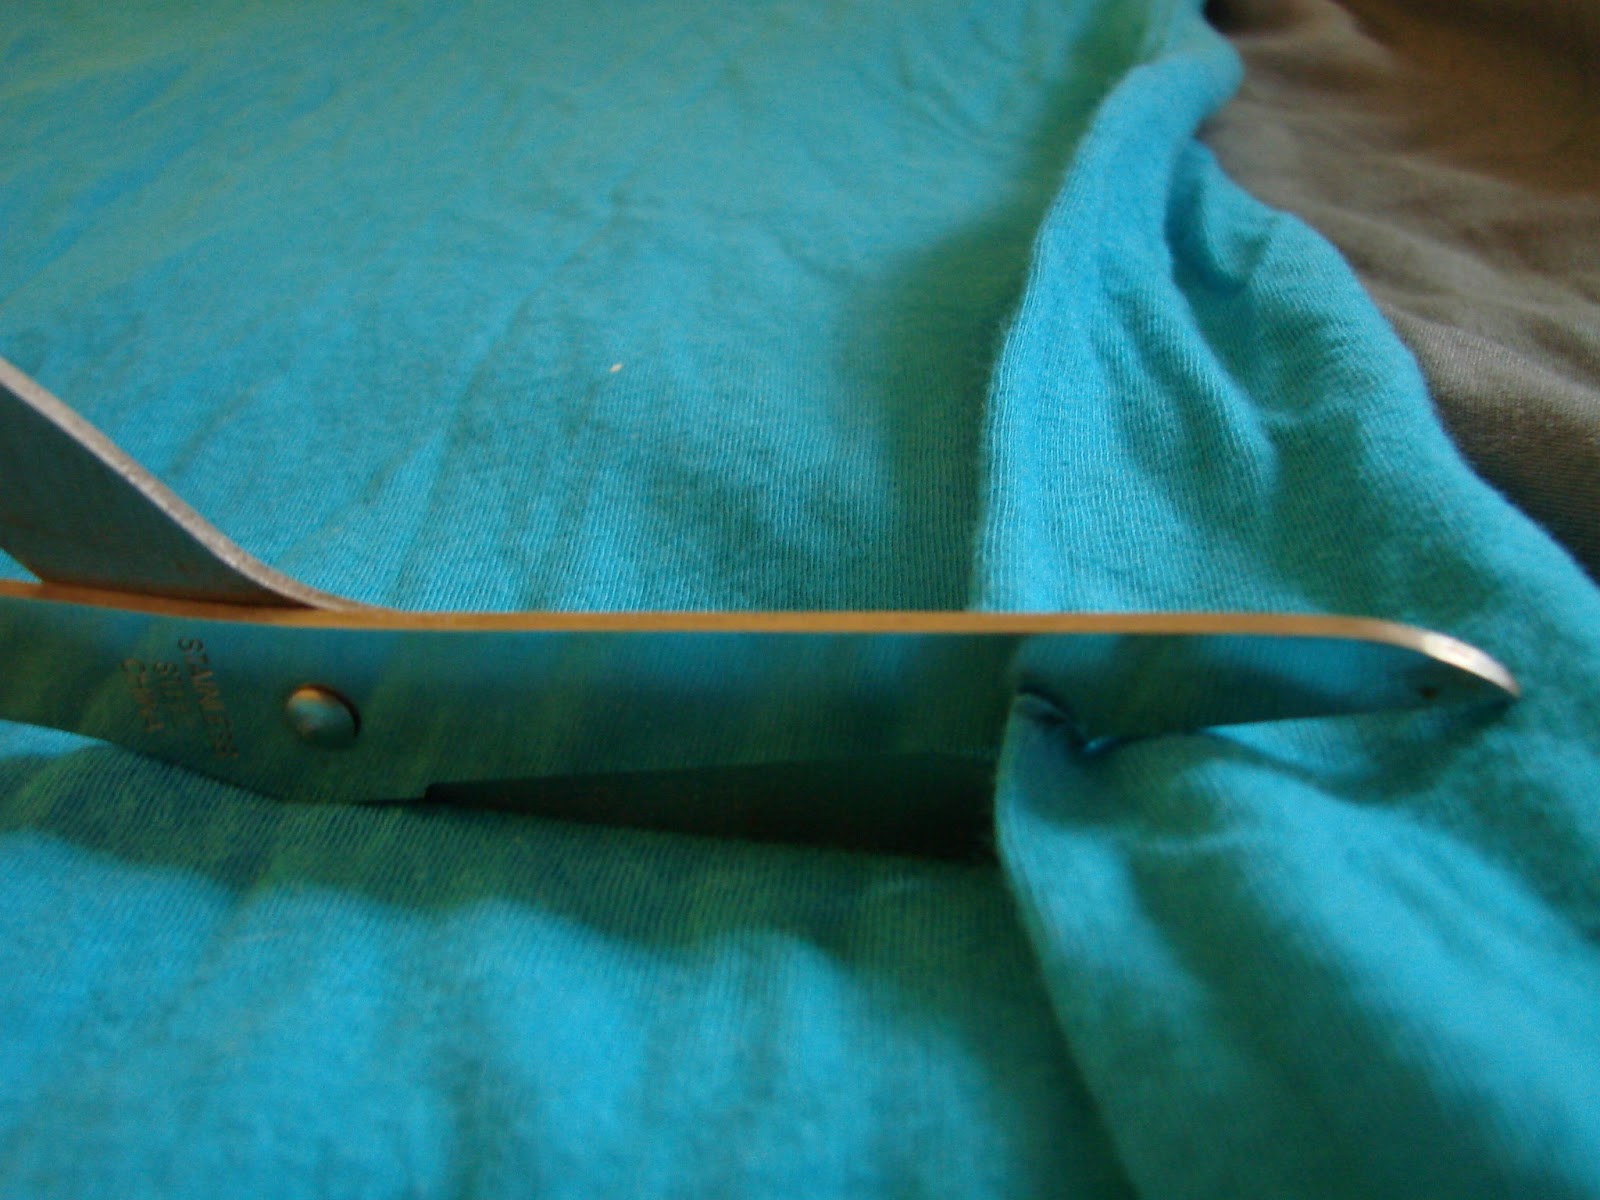
Then, I cut along the shirt like I did on the back, until I got to where I marked. I went down diagonally from the mark and did the same on the other side.

Lastly, I cut up the middle of the triangle and tied it off.

And here is is the finished product! I ended up going back and cutting it a couple inches shorter than I originally did and turning it into a crop top so that the tie would be longer. I love it!

I hope this DIY was helpful and I hope you enjoy your new, cute shirt!
Currently listening to:
Undertow - Warpaint. I love the album art.
No comments:
Post a Comment